
Record an expense
Write down money you spent, with its category, provider, tags and a description.
An expense lowers the balance of the wallet it comes from. Its category feeds your budgets and reports.
Before you start
You need a wallet. For the shortest path, see Record your first expense.
Steps
Web
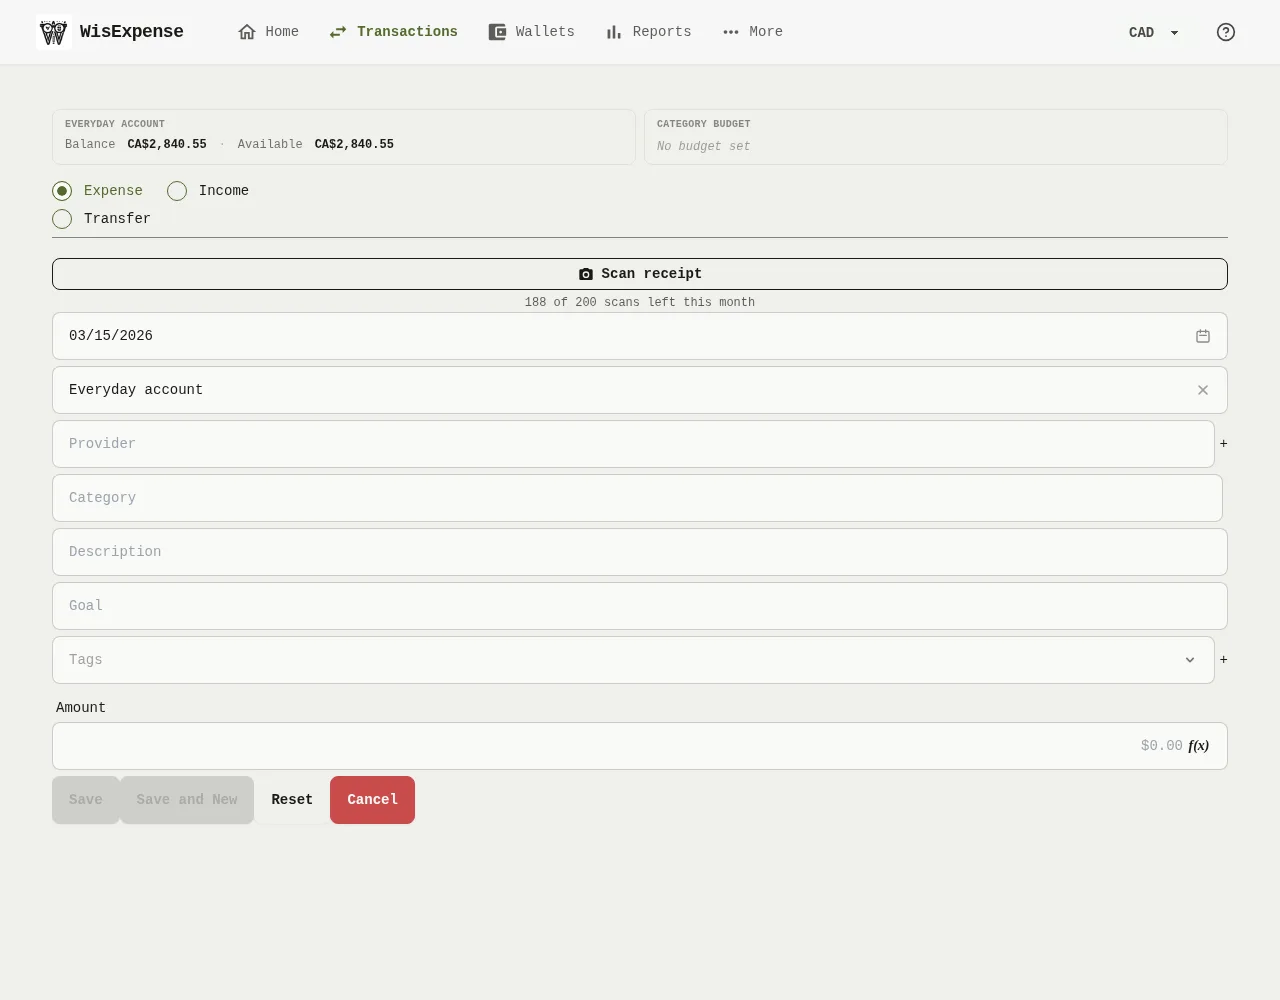
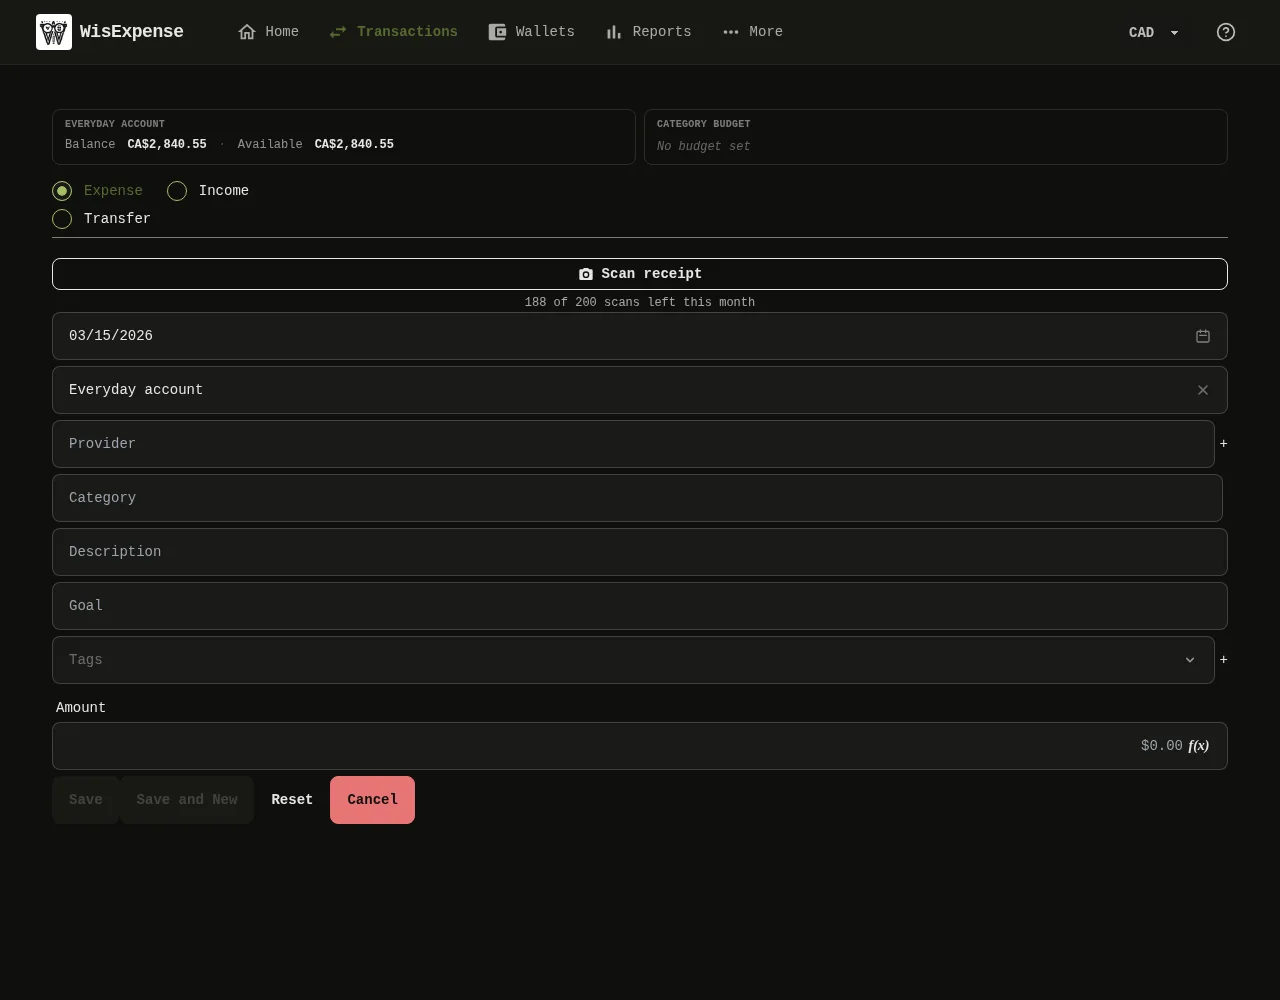
- Select + Transaction on the home screen or on a wallet.
- Check that Expense Marker 1 is selected.
- Pick the Transaction Date Marker 2.
- Choose the Wallet Marker 3 the money came from. The card above the form shows its balance and its available amount.
- Choose a Provider Marker 4, the shop or company you paid, and a Category Marker 5. To add a new provider, select the + button next to the provider field.
- If you like, add a Description Marker 6 and some Tags Marker 7.
- Type the Amount Marker 8.
- Select Save Marker 9, or Save and New to record another expense straight away.
Mobile
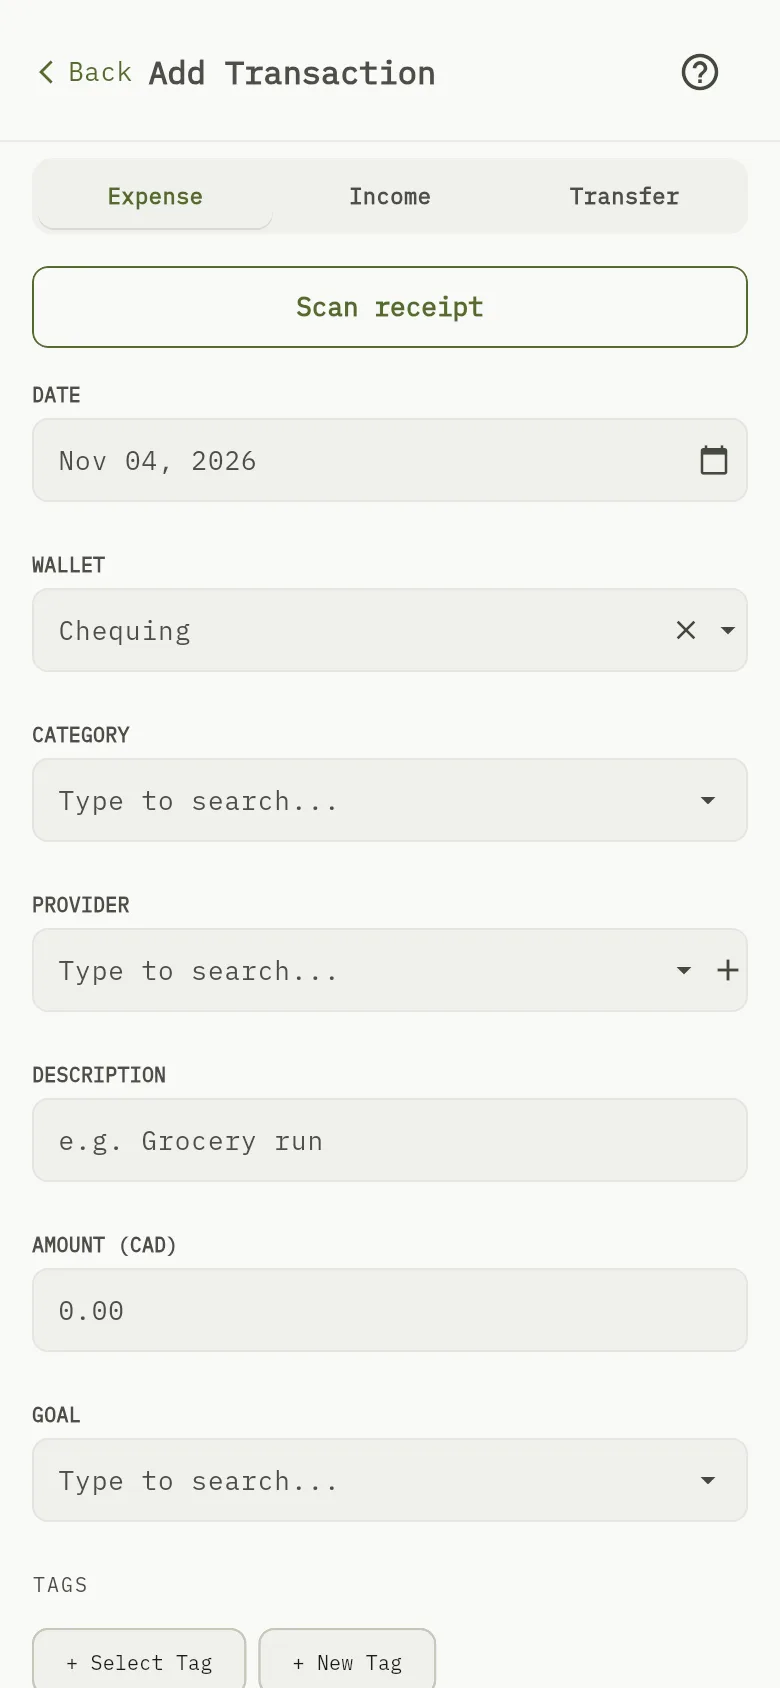
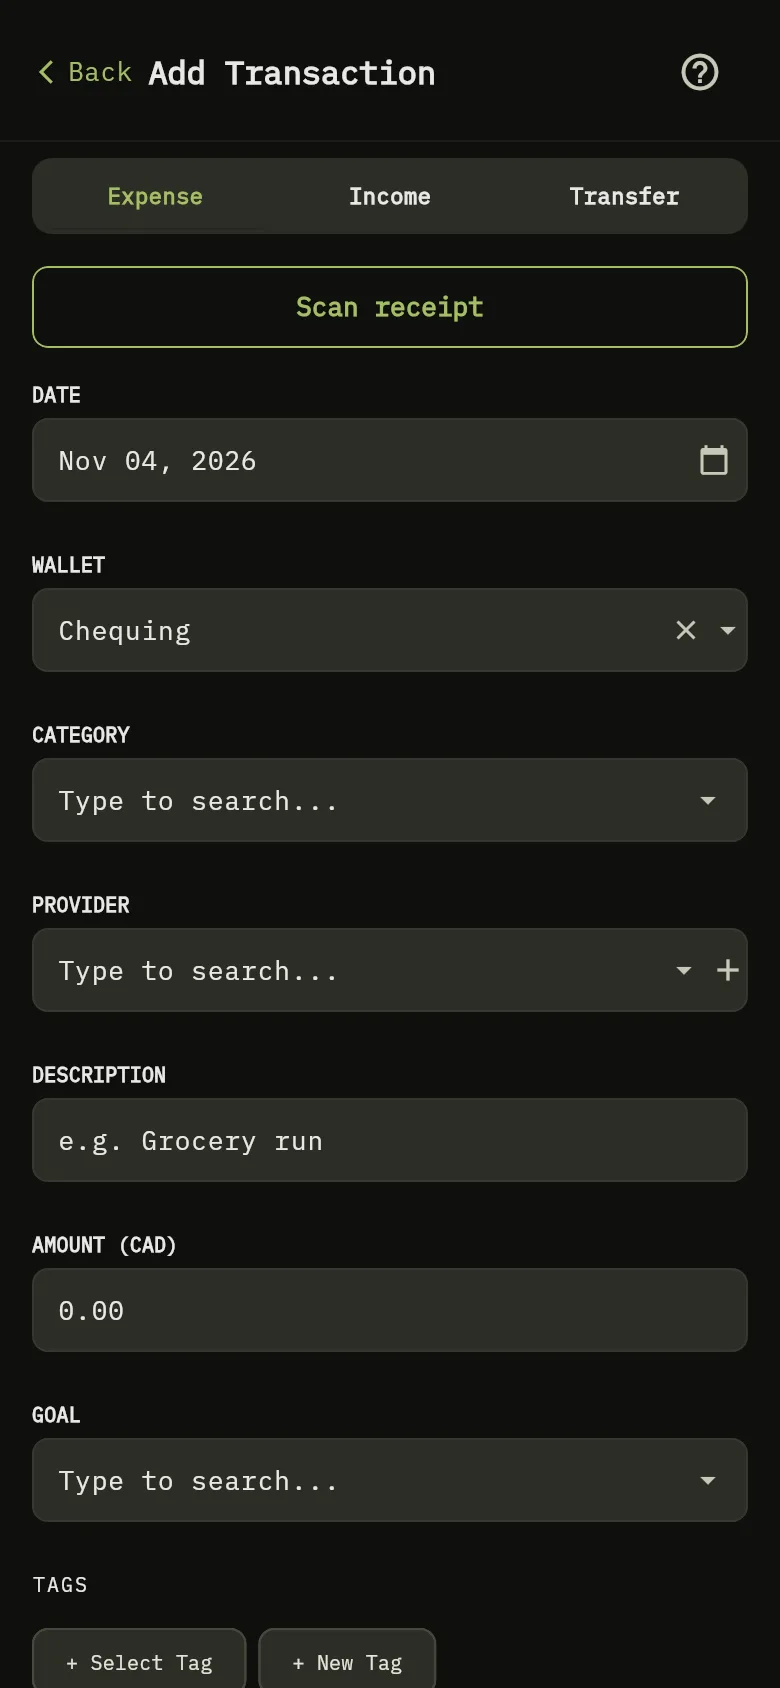
- Tap + Transaction on the home screen or on a wallet.
- Check that Expense Marker 1 is selected.
- Check the Date Marker 2, then choose the WALLET, the Category and the Provider.
- If you like, type a Description.
- Type the amount Marker 8.
- Tap Save, or Save & New to record another expense.
Tip
On the web, once you choose a category, the Category Budget card shows how much is Budgeted for it and how much you have Spent this month, so you can see where you stand before you save.
Needs the Premium plan
To fill the form from a photo of a receipt, use Scan receipt. It needs the Premium or Collaboration plan. See Scan a receipt.
If your wallets have money set aside for a goal, the form also shows a Goal field. Link the expense to a goal there so it counts against what you planned, even when the goal’s money is set aside on another wallet: see Spend toward a goal.
What you see
The expense appears in your transactions, and the wallet’s balance goes down by the amount.
Related
Record income, Copy a transaction, Edit or delete a transaction.