WisExpenseOpen the app
Topics

Share a wallet and choose their role

Give a friend access to a wallet as Read-only, Collaborator or Admin, and change it later.

Needs the Collaboration plan

Show steps for

Share a wallet with a friend so you both see its transactions. You choose what your friend can do with it.

Before you start

Needs the Collaboration plan

Sharing needs the Collaboration plan. It applies to you, the person sharing; your friend doesn’t need it to see the wallet.

You need to be friends first: see Invite a friend. Only the owner of a wallet and its admins can share it. If you don’t have the plan, the app says Collaboration required, and Upgrade opens the plans: see Upgrade your plan.

Steps

Web
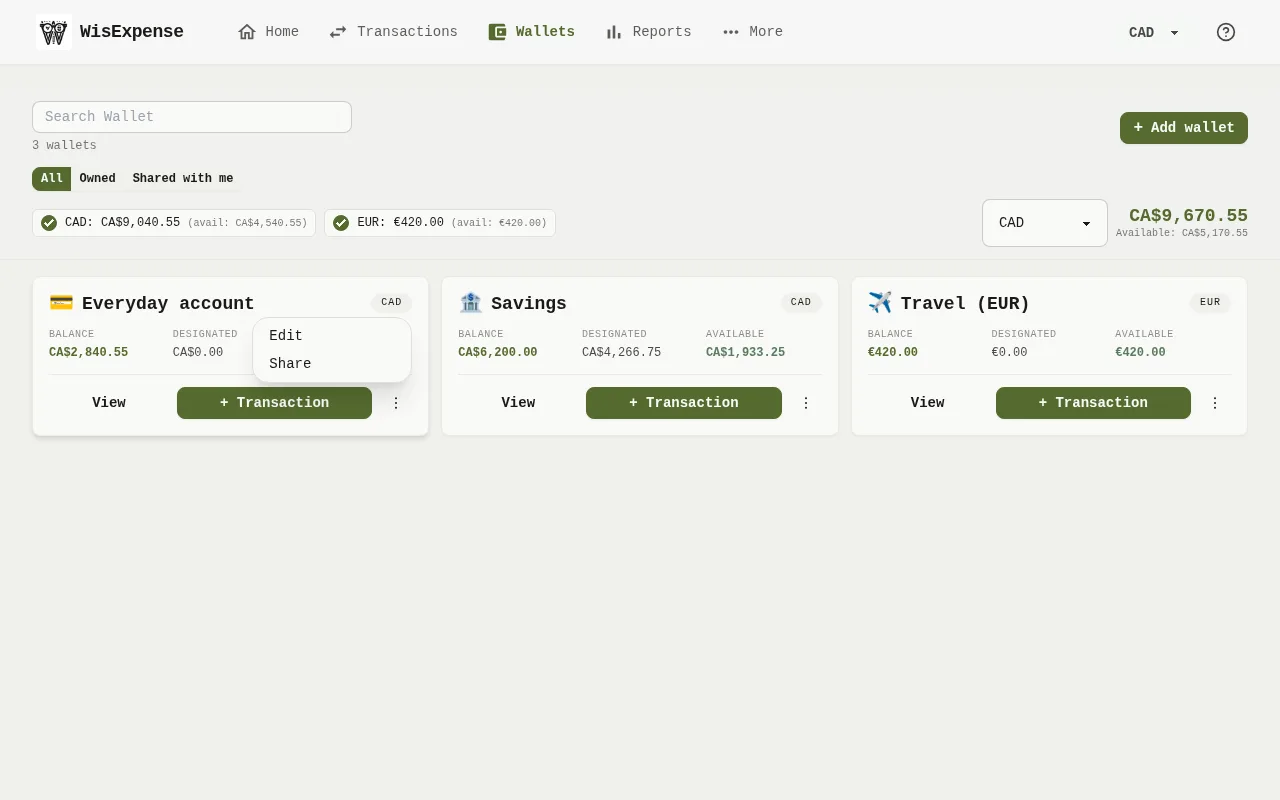
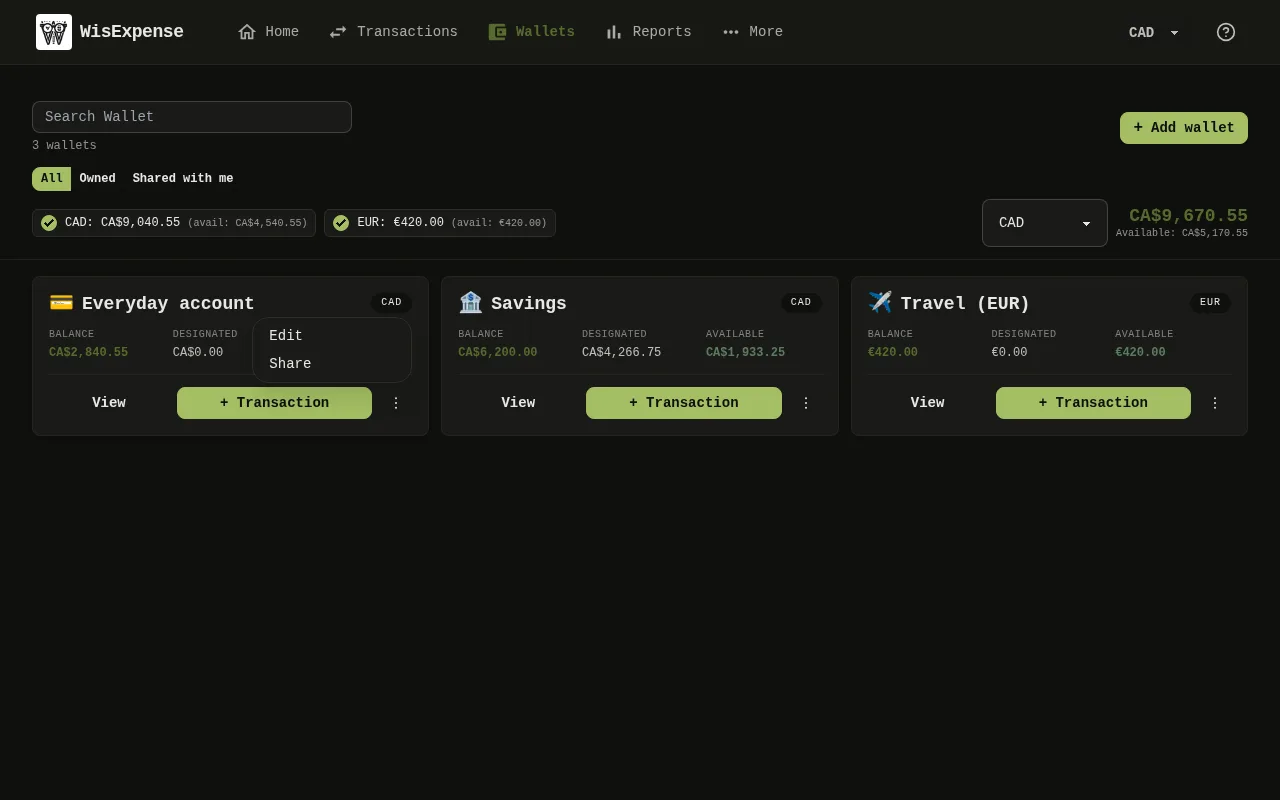
The Wallets screen of the web app with the menu of a wallet card open, showing Edit and Share. 1: Select the three dots on the wallet’s card, then select Share; 2: Select the three dots on the wallet’s card, then select Share.The Wallets screen of the web app with the menu of a wallet card open, showing Edit and Share. 1: Select the three dots on the wallet’s card, then select Share; 2: Select the three dots on the wallet’s card, then select Share.
  1. Select Wallets in the menu.
  2. Select the three dots Marker 1 on the wallet’s card, then select Share Marker 2.
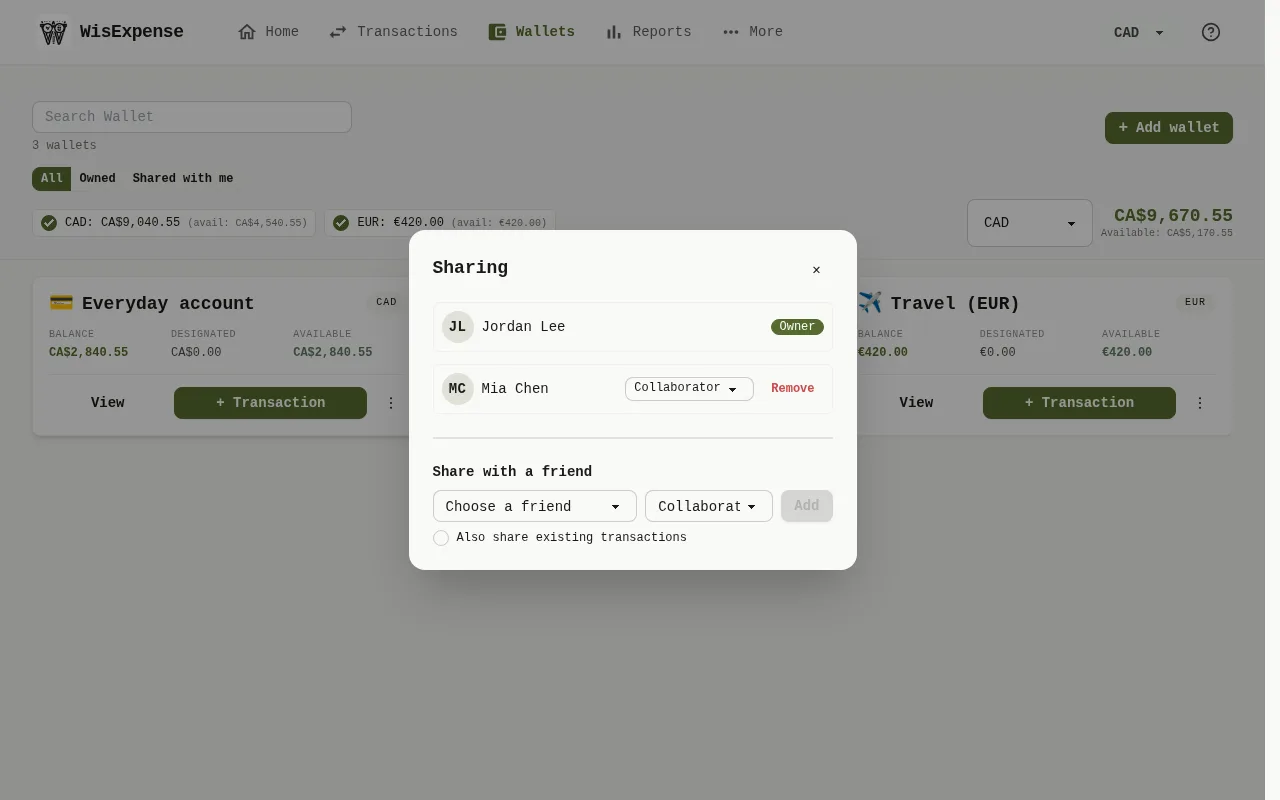
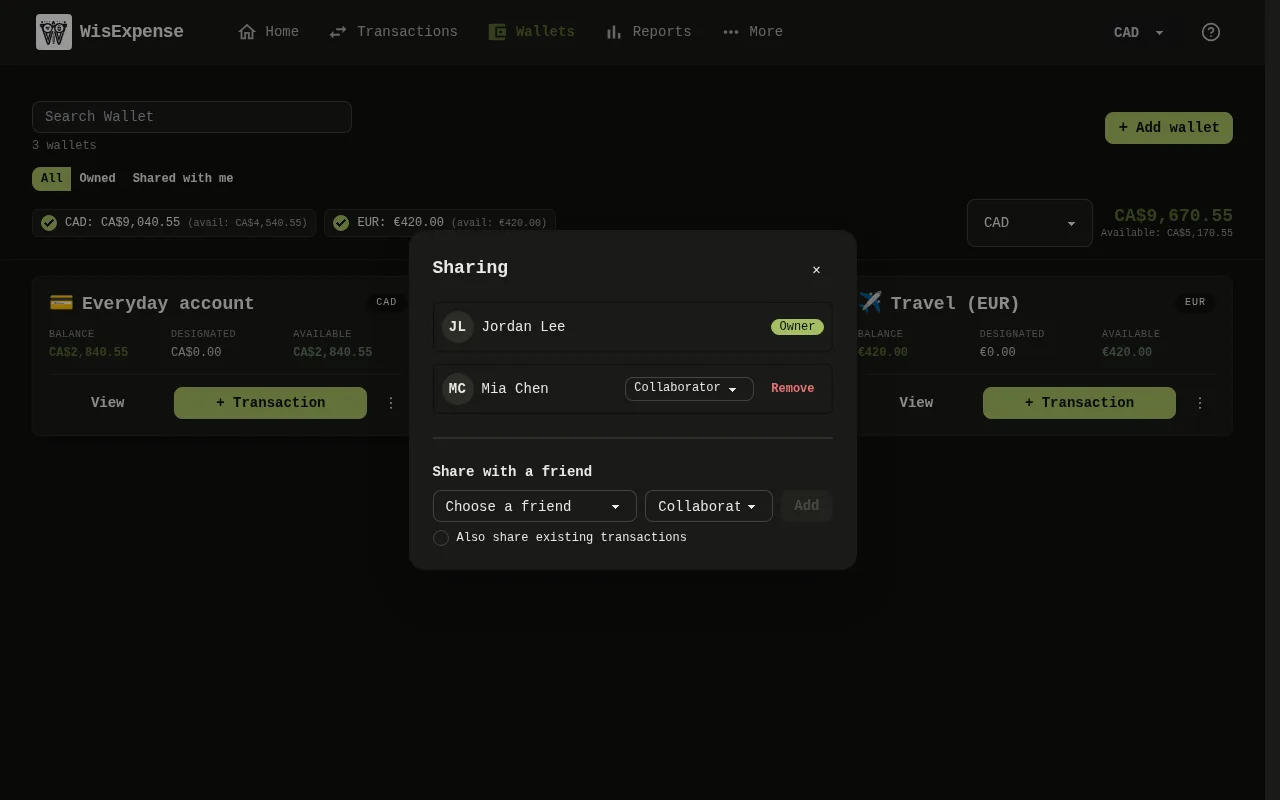
The Sharing window of the web app: the people who have access with their roles, the Remove buttons, and below them the friend list, the role list and the Add button. 3: The window lists who has access. Under Share with a friend, choose the friend and the role; 4: The window lists who has access. Under Share with a friend, choose the friend and the role; 5: The window lists who has access. Under Share with a friend, choose the friend and the role; 6: If you also want your friend to see the transactions already in the wallet, tick the checkbox under the row. In every language but English its label is missing from the app and reads share_dialog.share_history. Leave it unticked to share only what you record from now on; 7: Select Add; 8: To change a role later, choose another one in the list next to the person.The Sharing window of the web app: the people who have access with their roles, the Remove buttons, and below them the friend list, the role list and the Add button. 3: The window lists who has access. Under Share with a friend, choose the friend and the role; 4: The window lists who has access. Under Share with a friend, choose the friend and the role; 5: The window lists who has access. Under Share with a friend, choose the friend and the role; 6: If you also want your friend to see the transactions already in the wallet, tick the checkbox under the row. In every language but English its label is missing from the app and reads share_dialog.share_history. Leave it unticked to share only what you record from now on; 7: Select Add; 8: To change a role later, choose another one in the list next to the person.
  1. The window lists who has access Marker 3. Under Share with a friend, choose the friend Marker 4 and the role Marker 5.
  2. If you also want your friend to see the transactions already in the wallet, tick the checkbox under the row Marker 6. In every language but English its label is missing from the app and reads share_dialog.share_history. Leave it unticked to share only what you record from now on.
  3. Select Add Marker 7.
  4. To change a role later, choose another one in the list next to the person Marker 8.

Mobile
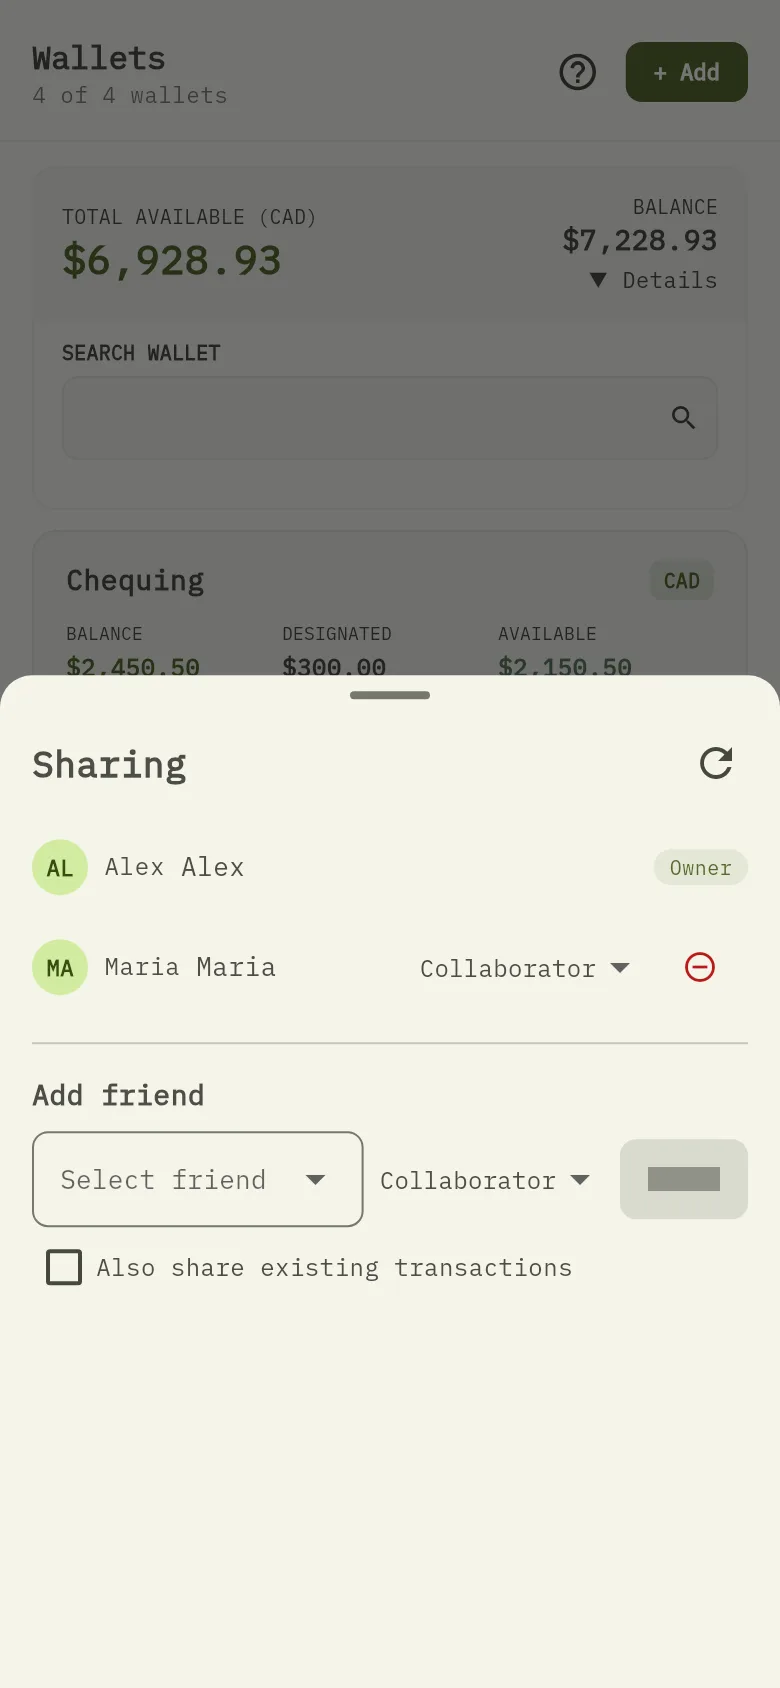
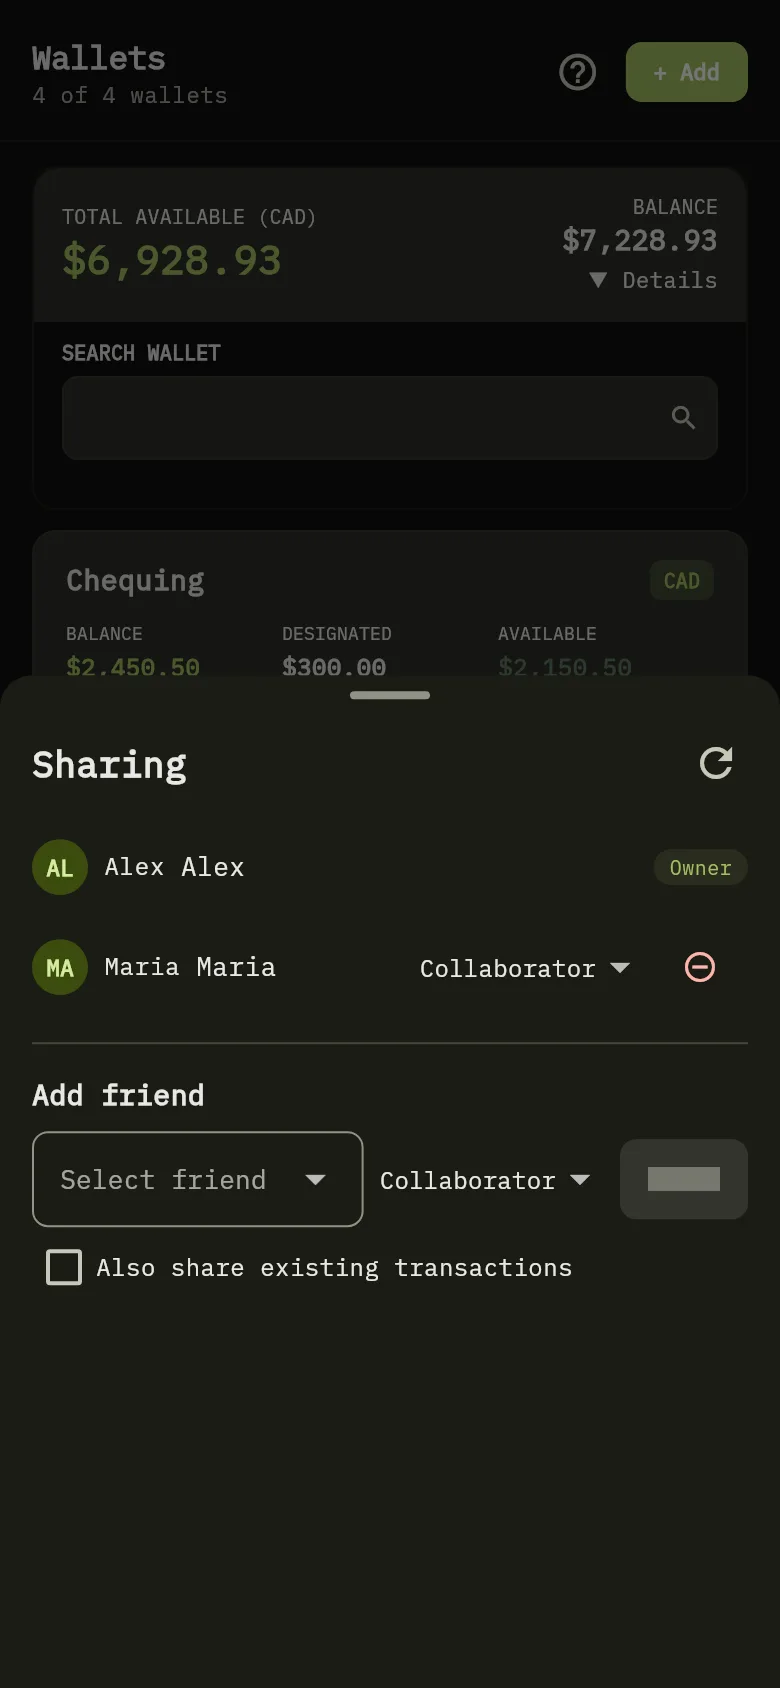
The Sharing sheet of the mobile app: the owner and the people who have access with their roles, and below them the friend list, the role list, the Add button and the checkbox for existing transactions. 9: The sheet lists who has access. In the Add friend section, choose the friend and the role, and tap Add; 10: The sheet lists who has access. In the Add friend section, choose the friend and the role, and tap Add.The Sharing sheet of the mobile app: the owner and the people who have access with their roles, and below them the friend list, the role list, the Add button and the checkbox for existing transactions. 9: The sheet lists who has access. In the Add friend section, choose the friend and the role, and tap Add; 10: The sheet lists who has access. In the Add friend section, choose the friend and the role, and tap Add.
  1. Tap Wallets, then tap the three dots on the wallet’s card and tap Share.
  2. The sheet lists who has access Marker 9. In the Add friend section Marker 10, choose the friend and the role, and tap Add.
  3. To also share the transactions already in the wallet, tick Also share existing transactions first.
  4. To change a role, choose another one next to the person. The sheet’s labels are in English in every language.

The three roles

  • Read-only: sees the wallet and its transactions, and can’t change them.
  • Collaborator: also adds and edits transactions, but can’t delete any, not even the ones they added.
  • Admin: also deletes transactions and, like you, shares the wallet, changes roles, and removes people.

You stay the Owner: your access can’t be changed or removed.

What you see

Your friend appears in the list with the role you chose. In their app the wallet carries a Shared badge, and on the web the Shared with me filter lists it.

Stop sharing and Split a shared expense.